

Debian has quickly become one of my favorite Linux distributions to use because of how lightweight it is. Especially if you are only using the command line and not installing a graphical user interface (GUI). In this tutorial, I’ll walk through all the steps you need to take to install a fresh copy of Debian.
Our first step is to download Debian. This can be done by heading to the official Debian website. Once there, click the download link. This will download the disk image to your computer. I always like to save this to my desktop especially if I’ll be making a bootable USB drive.
To make our bootable USB drive, we’ll be using a program called Rufus. This is a free program and it can be downloaded here. I like to download the portable version since it doesn’t require me to install it on my computer. After you open the program, select the device you want to use then for the Boot selection choose Disk or ISO image. We need to click on the Select button and locate the disk image we downloaded. The Partition scheme you choose will depend on your hardware. You may need to do some additional research to pick the best option. For the format options, the defaults should be fine. When you’re ready, press the Start button. When Rufus is done, you should have a bootable USB drive.
Now we’re ready to plug our USB drive into our computer and load the Debian installer. Depending on how your computer is set up, it may boot right away from the USB drive. If it doesn’t, you may need to change the boot order in your BIOS. Some systems have a key you can press during startup that allows you to select a temporary boot device.
Let’s begin the install
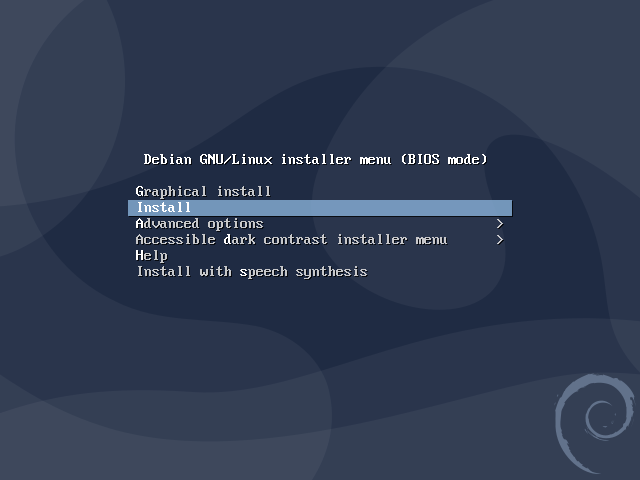
When the installer loads, you will be presented with some options. I like to select just the Install option but you can also choose the Graphical install option.
Next select your language, location, and keyboard layout.
Let’s set a hostname for our new system. This can be anything you want and is how you will identify the system on your network. Think of it like the computer’s name. You will also be asked to enter your domain name. It’s unlikely you will have a domain name so you can either make something up or leave this blank.
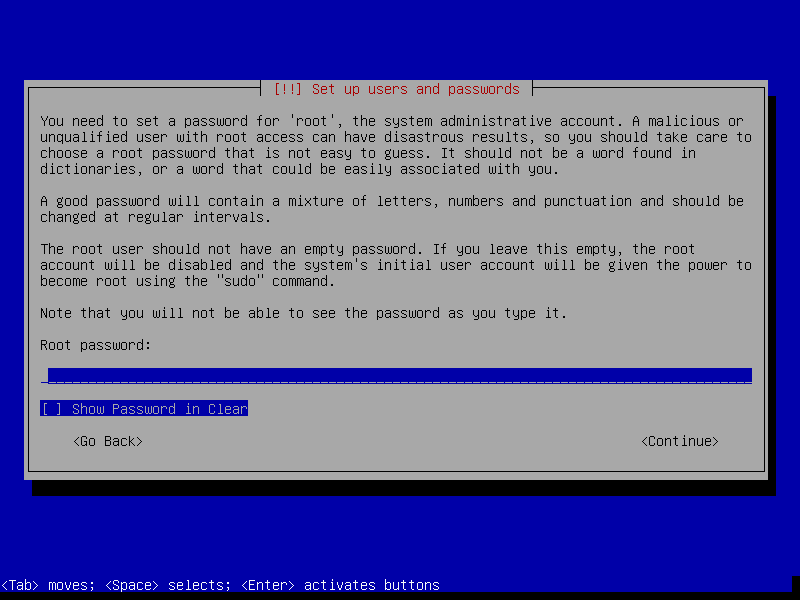
Now we need to set a root password to our system. This password is the most important password you will set on the system. It gives full rights to do anything on the system so make it secure. You also want to make sure you don’t forget this password since recovering it down the line might not be possible. This may mean, you have to reinstall your operating system.
After setting your root password, you will be asked to create a user account. Make sure to pay attention to your username as we’ll need this later. I like to change my username from what is automatically set for me. Once your user is created, configure your time zone for the system.
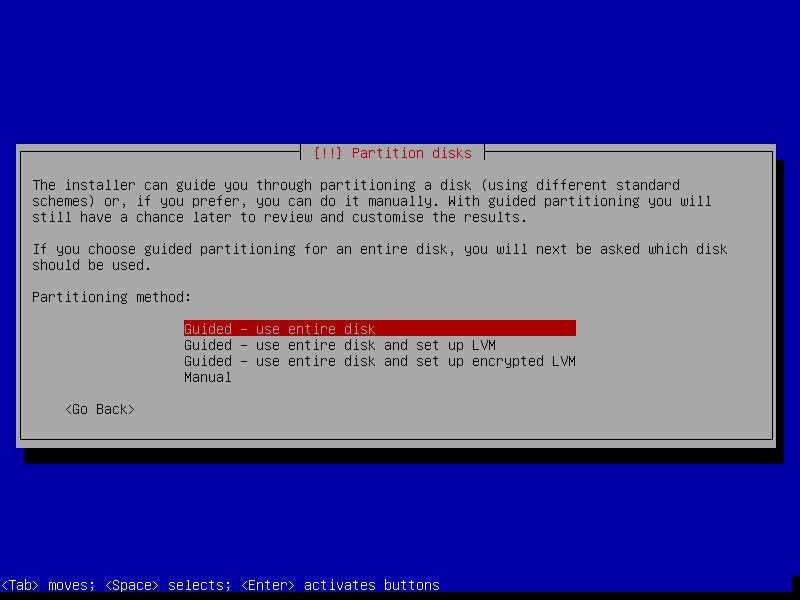
We next need to partition the disks we will be using. For new users, it’s best to select Guided – use entire disk. You’ll be asked to select the disk you want to use. In most cases, you will only have one disk to choose from. In the next menus select All files in one partition then Finish partitioning and write changes to disk. Confirm your changes then select Yes to write them to the disk.
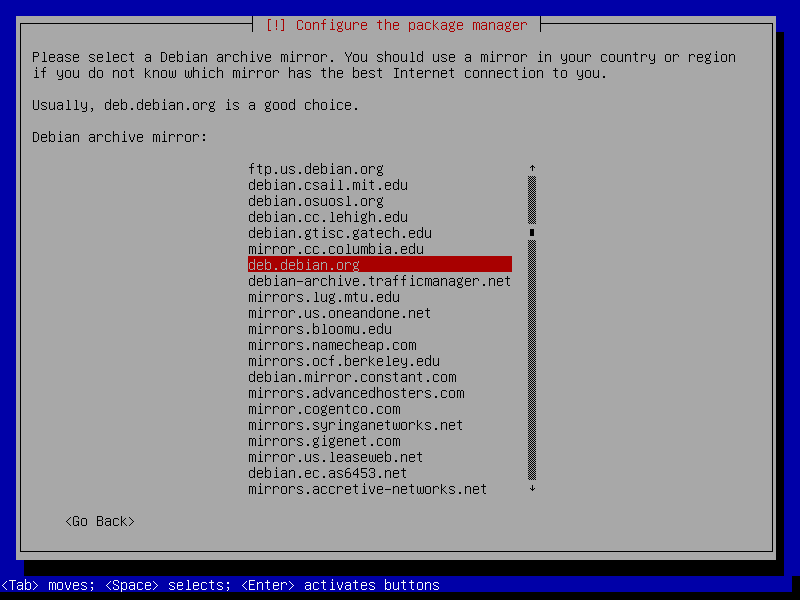
After the disk is partitioned, we are asked if we want to scan additional CDs or DVDs. In most cases, you can just select No. We need to tell our new system where to get updates from so let’s select our country. We also need to pick a mirror. I’m just going to select the default option the installer selected.
If you use a proxy to access the internet, you will be asked to enter that otherwise, you can leave this blank. We can choose if we want to send anonymous data to the developers. I’m not a fan so I’ll pick the No option.
We’re almost done with the installation but first, we need to tell the installer what software we would like to install. Since I do everything at the command line, I don’t install the desktop environment. If you are building a web or print server, you can choose these options now and they’ll be ready to configure out of the box. One option I turn on is the SSH server since this allows me to SSH into my system down the line. I also choose to install the standard system utilities on my systems.

Finally, we are asked to install the GRUB boot loader. Select the Yes option then select the device you want to install it on. If you only have one disk, it should be the only option to pick from. The installer will run through a few final things then you will be asked to restart your system. Remember to remove your installation media before restarting.
And that’s it, your new OS is ready to go. Now you should follow some basic “best practices” to secure your new system. Check out this tutorial for how to do that.